Gym and facility settings
Set your currency, date format, logo, icon and brand colour for the whole gym, then each location's name, address, timezone, busyness meter and amenities.
FitManager has two levels of settings. Gym settings apply to the whole gym and every location in it: currency, formats and branding. Facility settings belong to one location: its name, address, timezone and busyness meter. Both are under Settings in the sidebar.
Before you start
- You need the Manage settings permission. Owners have it.
- Facility settings always change the location you are working in right now. To change another one, switch facility first.
Gym settings
Open Settings > Gym settings. Change what you need and click Save Changes at the bottom. Everything applies at once to every location, the website and the member portal.
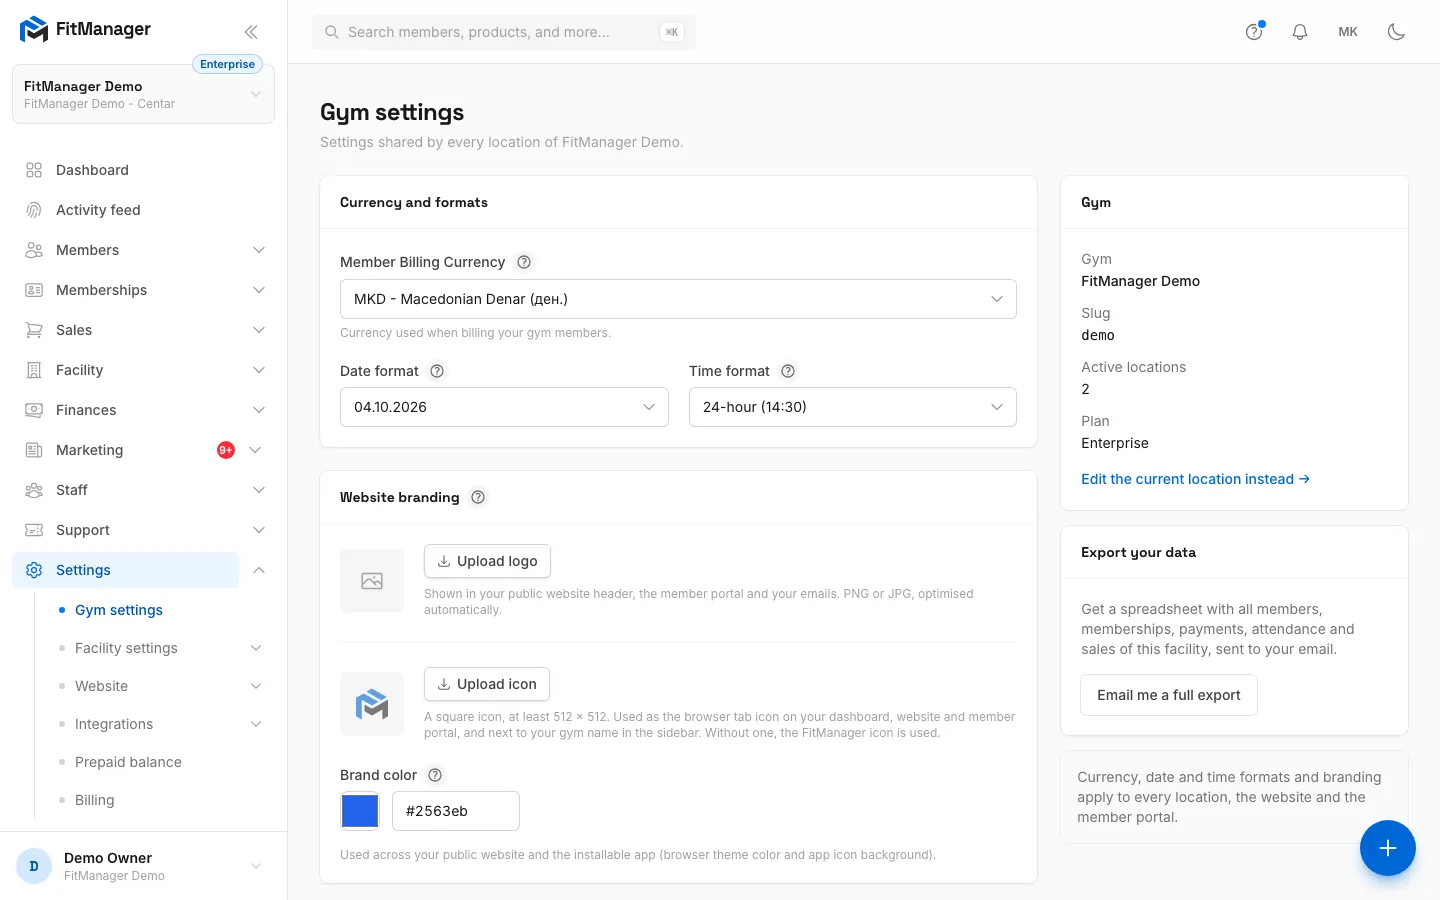
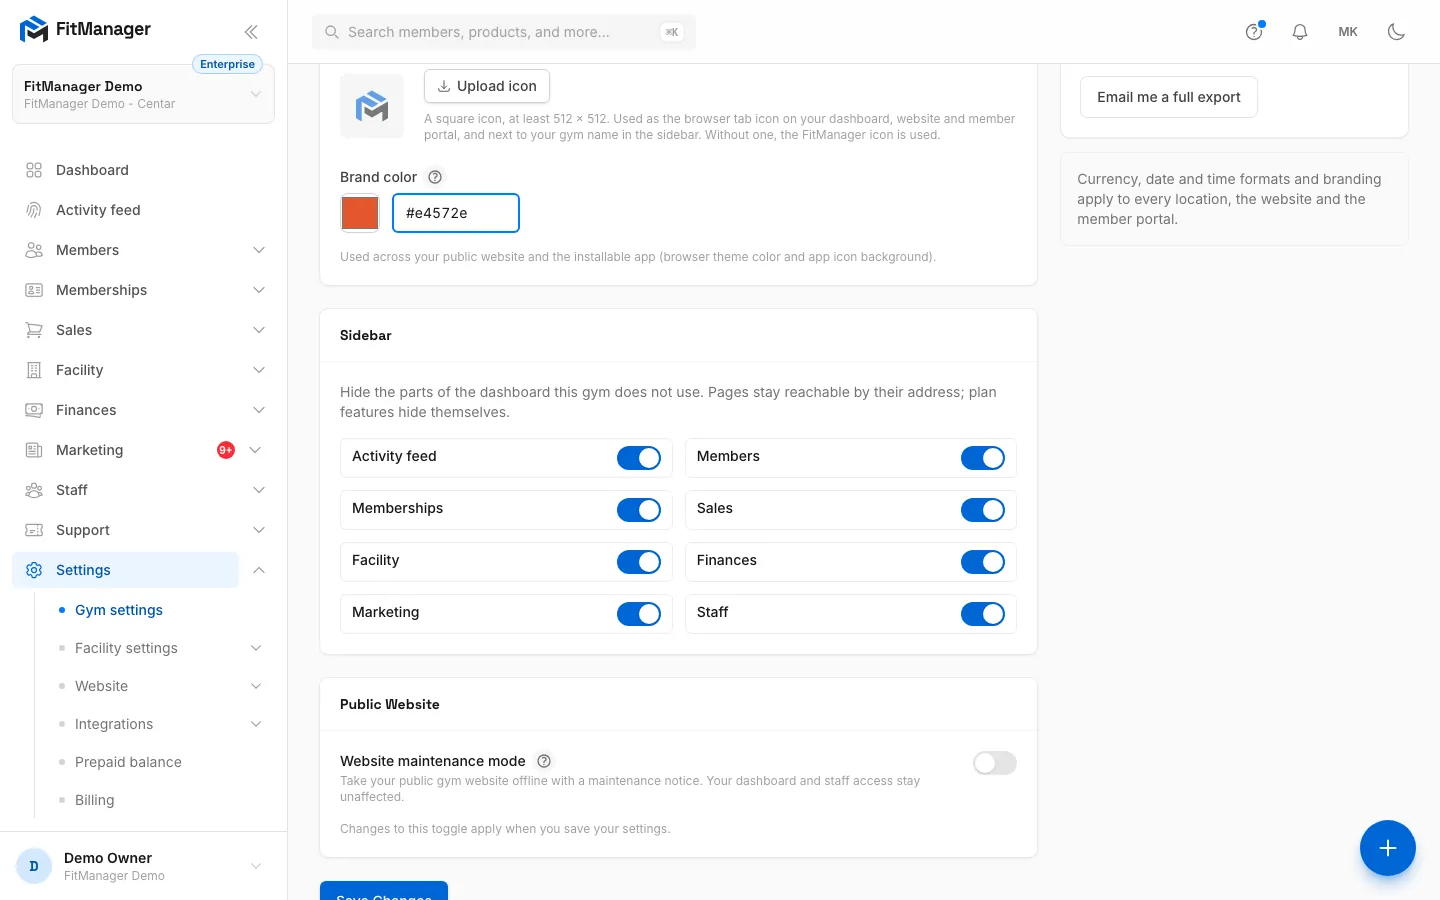
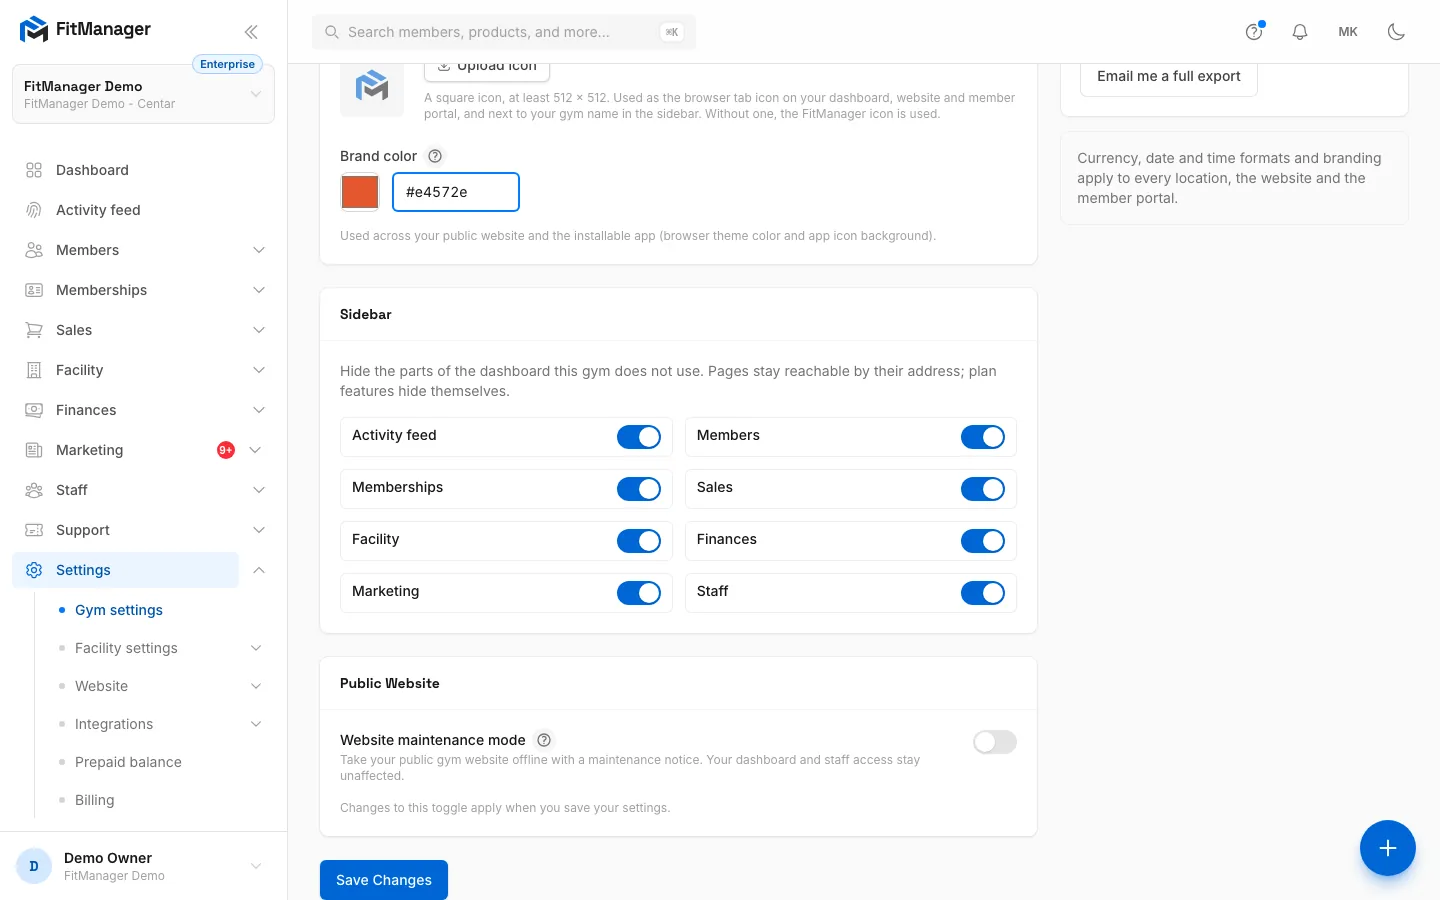
- Step 1: Pick the currency you charge members in.
- Step 2: Choose how dates and times are written everywhere.
- Step 3: Upload your logo and a square icon. They appear on the website, the portal and in emails.
- Step 4: Set your brand colour as a hex code, or pick it from the colour wheel.
- Step 5: Hide sidebar sections your gym does not use.
- Step 6: Take the public website offline for maintenance here when you need to.
- Step 7: Click Save Changes. Everything applies to every location at once.
Currency and formats
| Field | What it does |
|---|---|
| Member Billing Currency | The currency for everything you charge members: plans, products, the POS and online payments. Changing it does not convert prices you have already entered. |
| Date format | How dates are written across the dashboard, the portal and emails. Each option shows today's date as an example. |
| Time format | 24-hour or 12-hour. |
This currency is what your members pay in. The currency FitManager bills you in is separate and shown on Billing.
Website branding
| Field | What it does |
|---|---|
| Upload logo | Shown in your website header, the member portal and your emails. PNG or JPG; it is optimised automatically. Remove logo takes it off. |
| Logo backdrop | Appears once you have a logo. Automatic looks at your logo: a white or light logo gets a dark backdrop on light pages, a dark logo gets a light backdrop in dark mode. You can force Dark backdrop (light logo), Light backdrop in dark mode (dark logo) or No backdrop. |
| Upload icon | A square icon, at least 512 x 512 pixels. Used as the browser tab icon on the dashboard, website and portal, and next to your gym name in the sidebar. Without one, the FitManager icon is used. |
| Brand color | A hex code such as #007bff, or pick it from the colour wheel. Used across your public website and the installable app (browser theme colour and app icon background). |
A new logo or icon is saved when you click Save Changes. Removing one takes effect at once.
Sidebar
Turn off the parts of the dashboard your gym does not use: Activity feed, Members, Memberships, Sales, Facility, Finances, Marketing and Staff. They disappear from the sidebar for every user of the gym. The pages still work if someone opens them by their address, and features your plan does not include hide themselves anyway.
Public Website
Website maintenance mode takes your public gym website offline and shows a maintenance notice. The dashboard and staff access are not affected. The switch applies when you click Save Changes. See Maintenance mode.
The side panel
The Gym card shows your gym name, its slug (the part of your website address after the domain), the number of Active locations and your Plan. Edit the current location instead opens the facility settings.
Requires: Data export
The Export your data card emails you a full spreadsheet of the current location. See Export your data.
Facility settings
Open Settings > Facility settings > Facility settings. The page edits the location named at the top.
| Field | What it does |
|---|---|
| Facility Name | Required. Shown in the dashboard, on the website and in the portal. |
| Address, City | Shown to members and on the website. |
| Timezone | Door opening hours, class times and every timestamp follow it. Set it before you open any doors. |
| Status | Active or Inactive. An inactive location can no longer be switched to. |
Busyness meter
Members see how busy the gym is as one of five levels, never as a head count: Quiet, Calm, Moderate, Busy and Packed. Enter the number of people inside at which each of the first four levels ends. Anything above the last number shows as Packed. The defaults are 10, 20, 35 and 50.
The numbers must increase from left to right, or you get Busyness thresholds must increase from left to right.
Click Save Changes. Members using QR access or the website see the new name and timezone straight away.
The More for this location card links to the other per-location pages: access rules, amenities, notifications and the list of facilities.
Facilities
Settings > Facility settings > Facilities lists every location of your gym with its city, timezone, number of members and status.
- Add Facility opens a form with the name, a short description, address, city, country, phone, email, timezone, status, opening hours and busyness meter. Turn on Set opening hours for this location to give it hours; members and door controllers follow them. Off means open around the clock.
- Edit changes the same fields for an existing location.
- Delete removes the location and everything attached to it for good, after you confirm Delete Facility. This cannot be undone.
Each location needs a licence on your plan. If you have used them all, Add Facility shows Your plan is licensed for 1 location(s). Add a location licence on the Billing page first. See Choose or change your plan.
Facilities and amenities
Settings > Facility settings > Facilities & amenities lists what the current location offers, such as a pool, sauna or spa. Members see the list in the portal with each amenity's status and upcoming maintenance.
- Click Add amenity.
- Enter a Name and pick an Icon, such as Pool, Sauna or Parking.
- Add a Description if you like.
- Set the Status: Open, Closed or Maintenance.
- To plan a closure, fill in Scheduled maintenance: From, Until and a Note for members. While the window is running, the amenity shows as under maintenance even if its status is Open. Leave Until empty for an open-ended closure.
- Use Sort order to set its place in the list, then save.
Removing an amenity takes it off the member portal straight away.
Troubleshooting
The brand colour is refused as invalid.
Use a six-digit hex code with a hash, such as #e4572e.
The new logo does not show on the website. Make sure you clicked Save Changes after choosing the file. Then reload the website; your browser may still show the old image.
The maintenance dates are refused. The end of a maintenance window must be after its start.
I changed the timezone and times look shifted. That is expected: past and future times are now shown in the new timezone. Check door opening hours and the timetable afterwards.
Was this page helpful?
Related articles
Still stuck?
Write to us and we will get back to you within one working day.