Write and publish blog posts
Write posts for your gym website and member portal, organise them with categories and tags, and control how they appear in search.
The blog is where you post news, training tips, new classes and holiday hours. A published post appears on your website's Blog page, in the blog section of your home page and under News in the member portal, so one post reaches both visitors and members.
Before you start
- Your plan needs the blog.
- To read the list of posts, staff need the View posts permission. To write, edit, delete and manage categories and tags, they need Write and publish posts.
Find it in the sidebar under Marketing, Blog: Posts, Categories and Tags.
Write a post
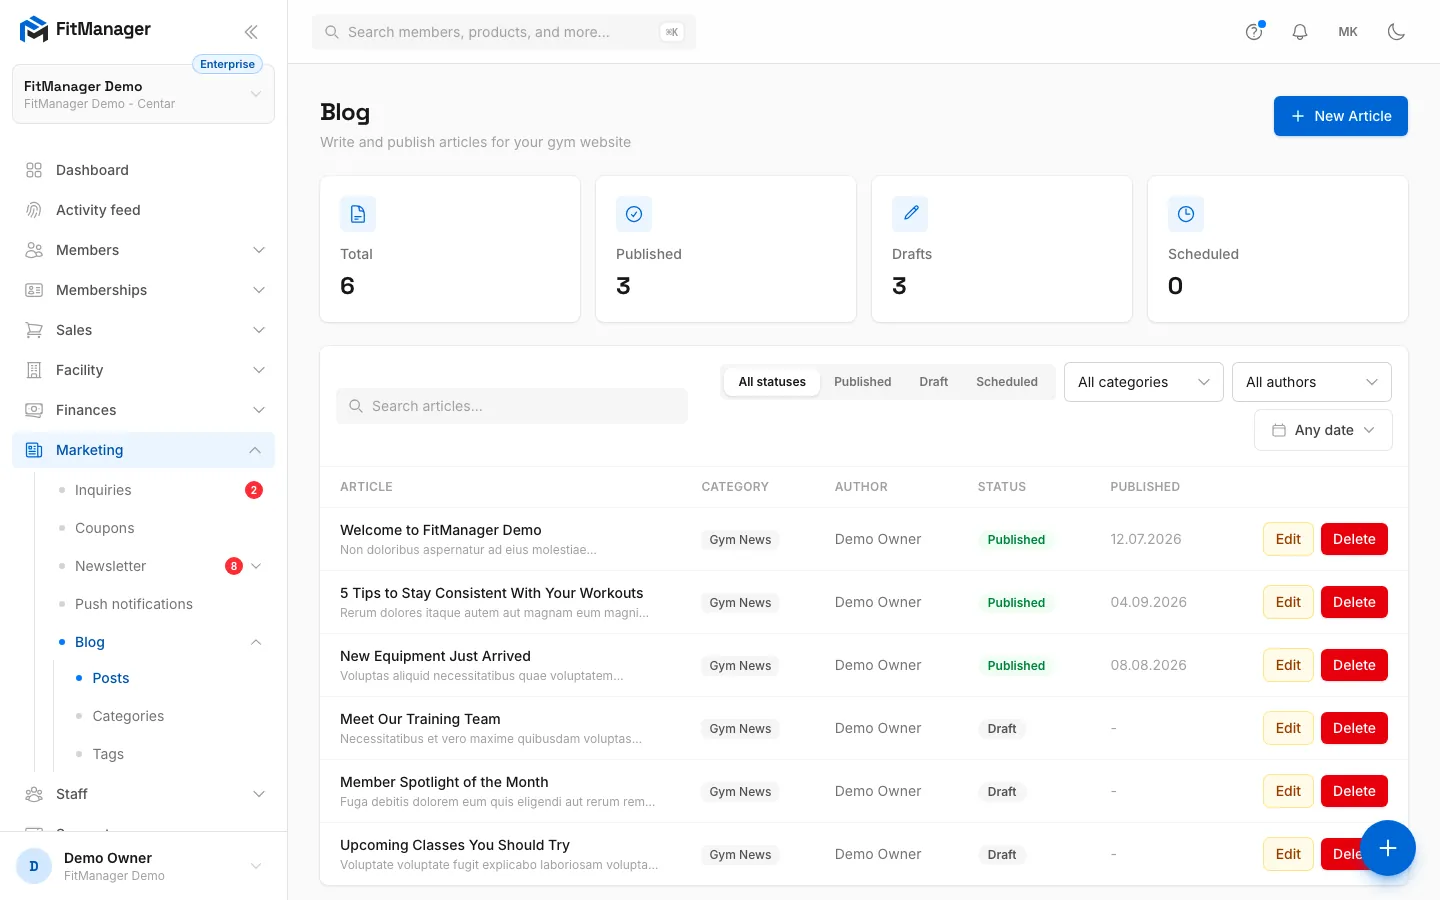
- Step 1: On the Blog page, click New Article.
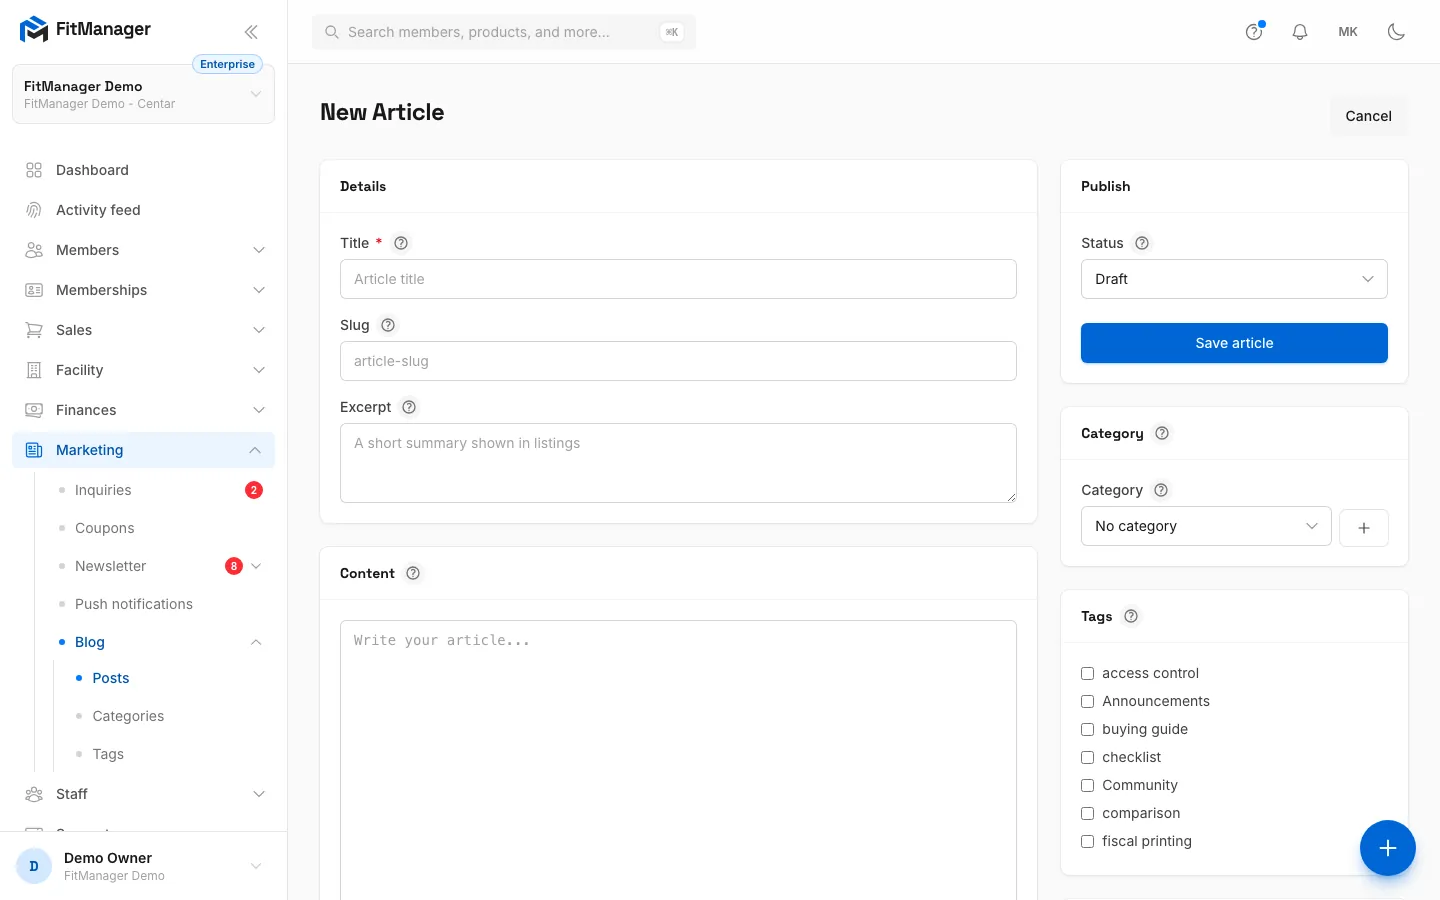
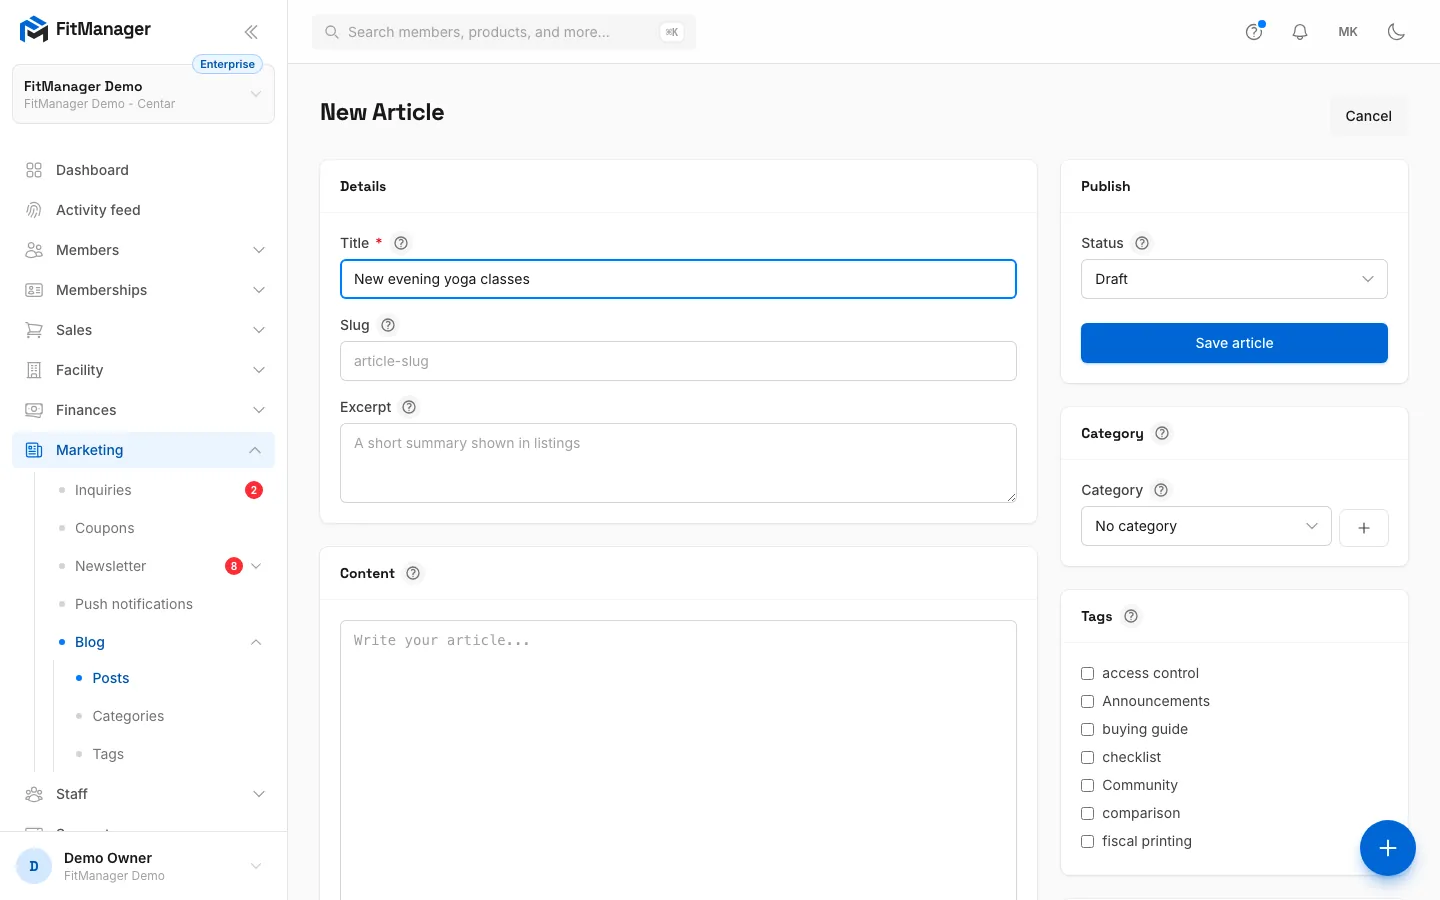
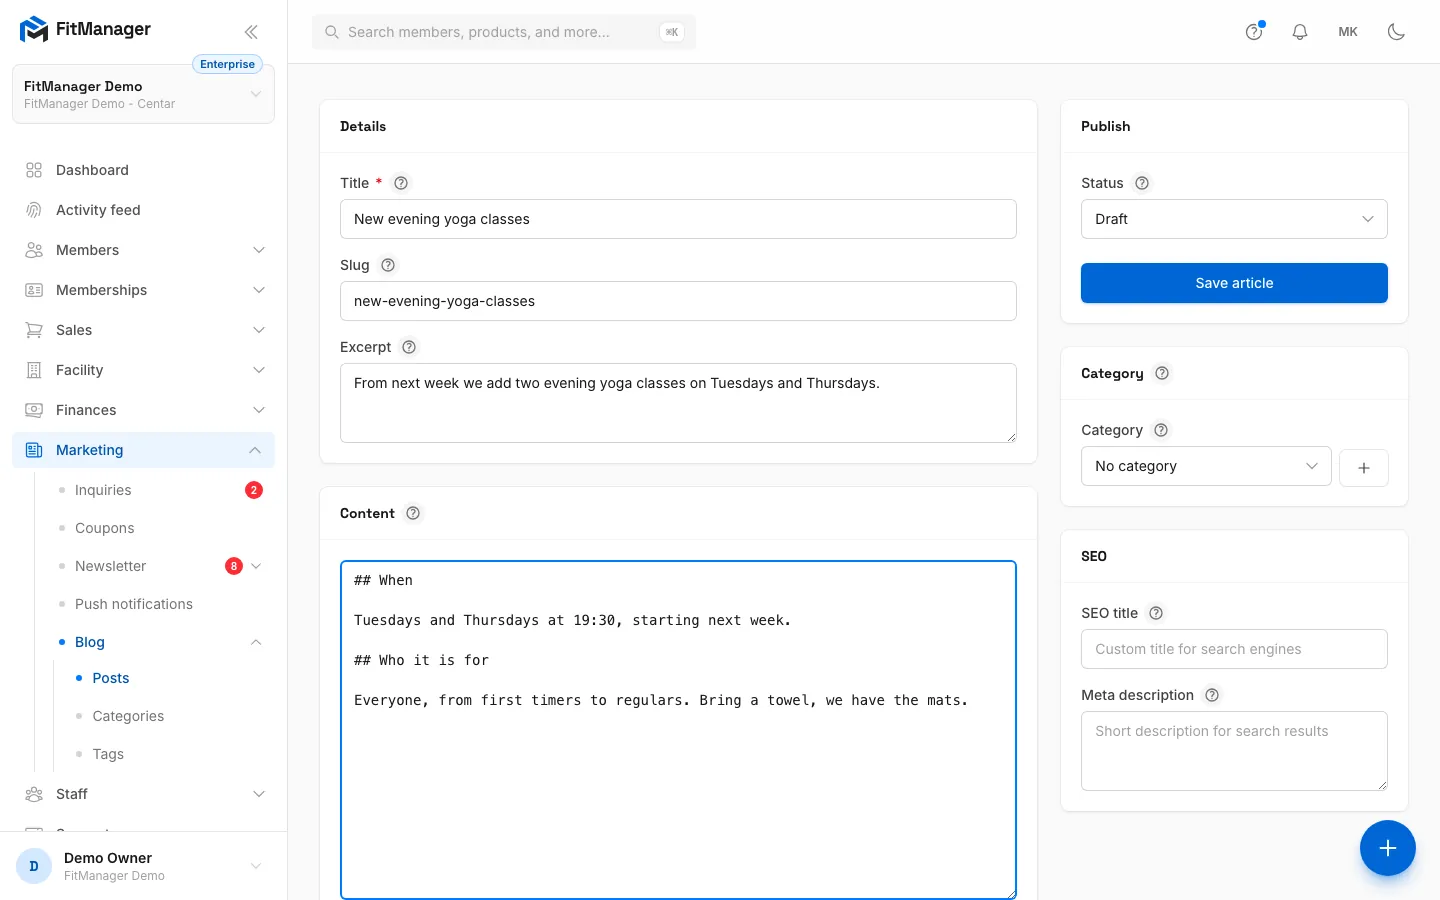
- Step 2: Type the Title. The Slug, the end of the post's address, fills in by itself.
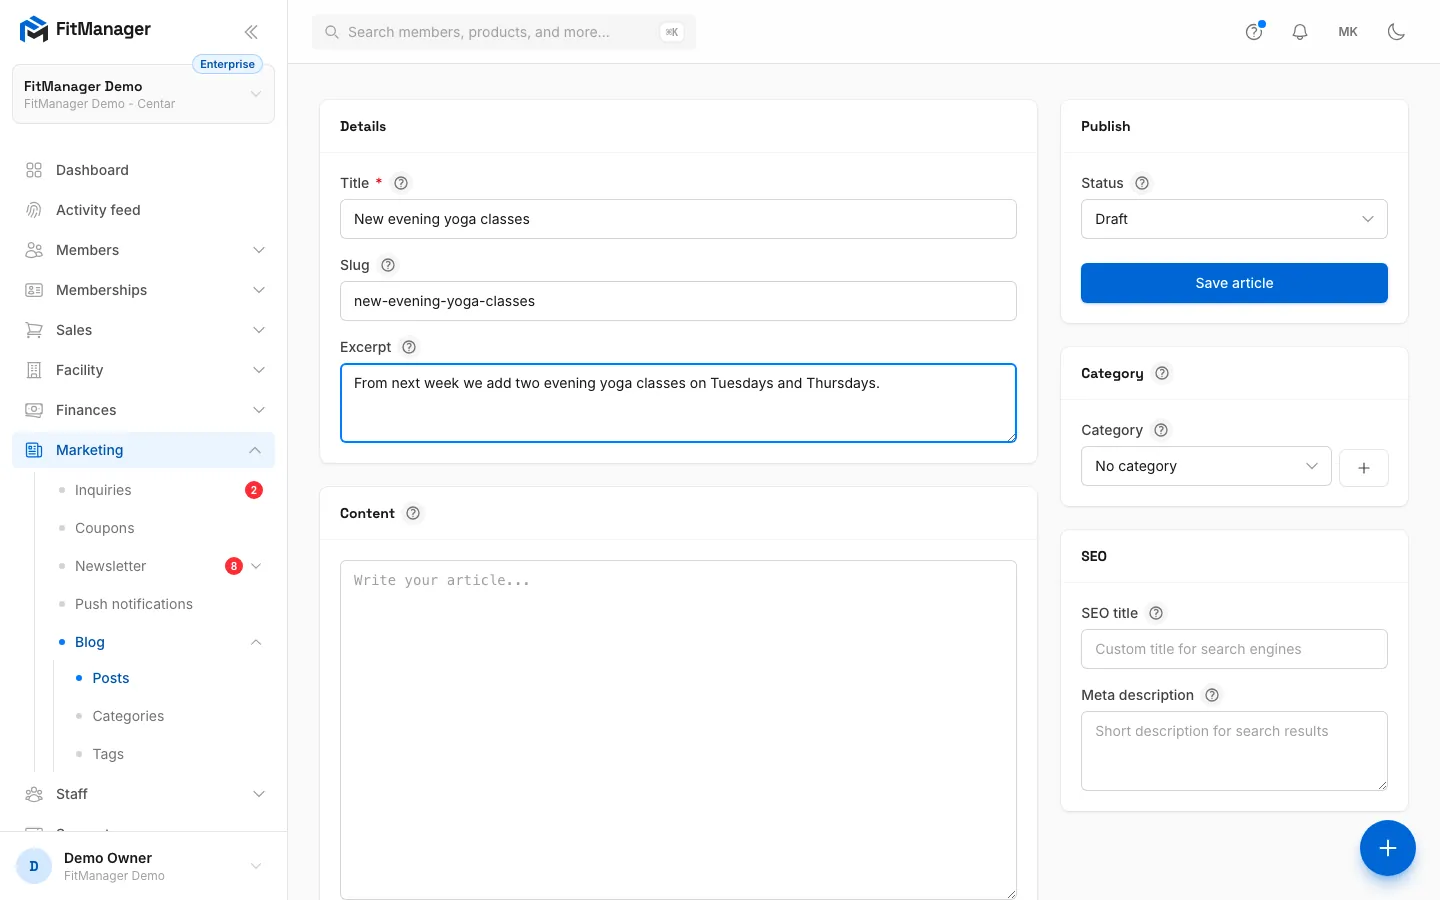
- Step 3: Write a short Excerpt. It is shown in the post lists.
- Step 4: Write the Content. Markdown works, for example
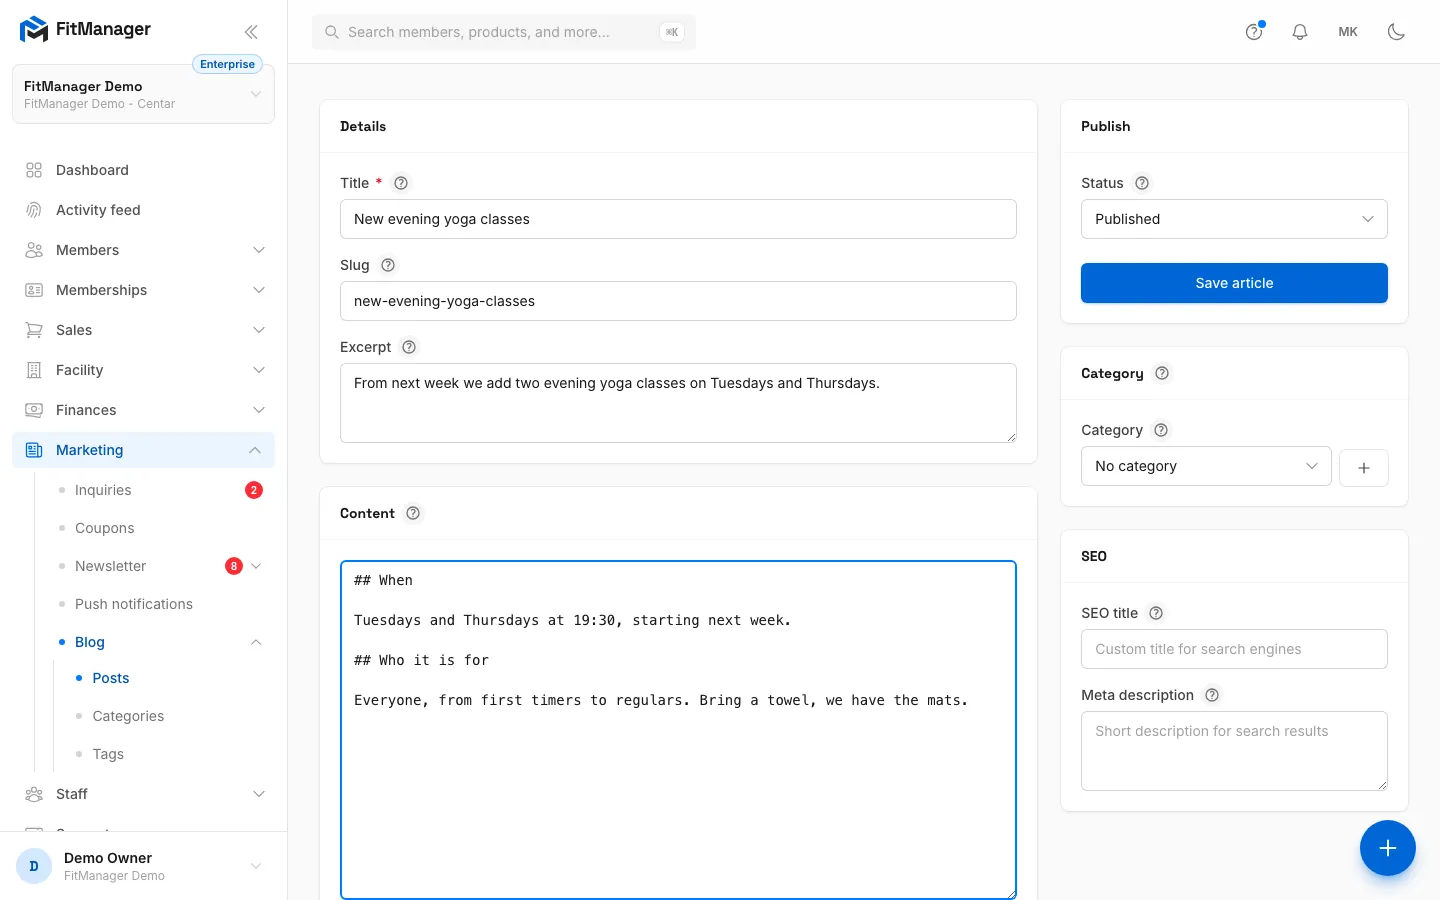
- Step 5: Under Publish, set the Status to Published.
- Step 6: Pick a Category, or click + to add one without leaving the form.
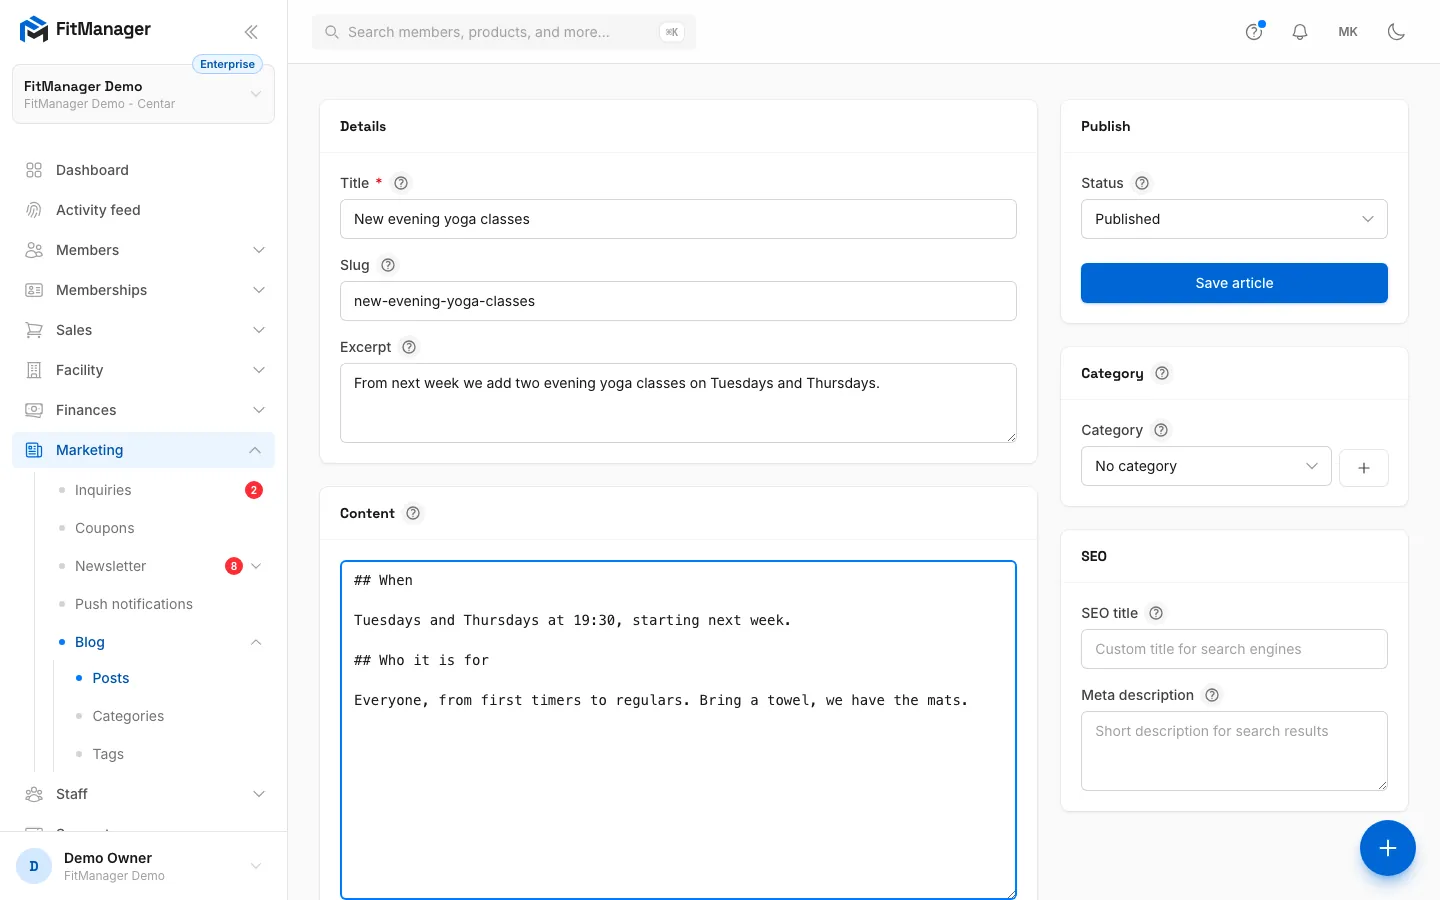
- Step 7: Click Save article.
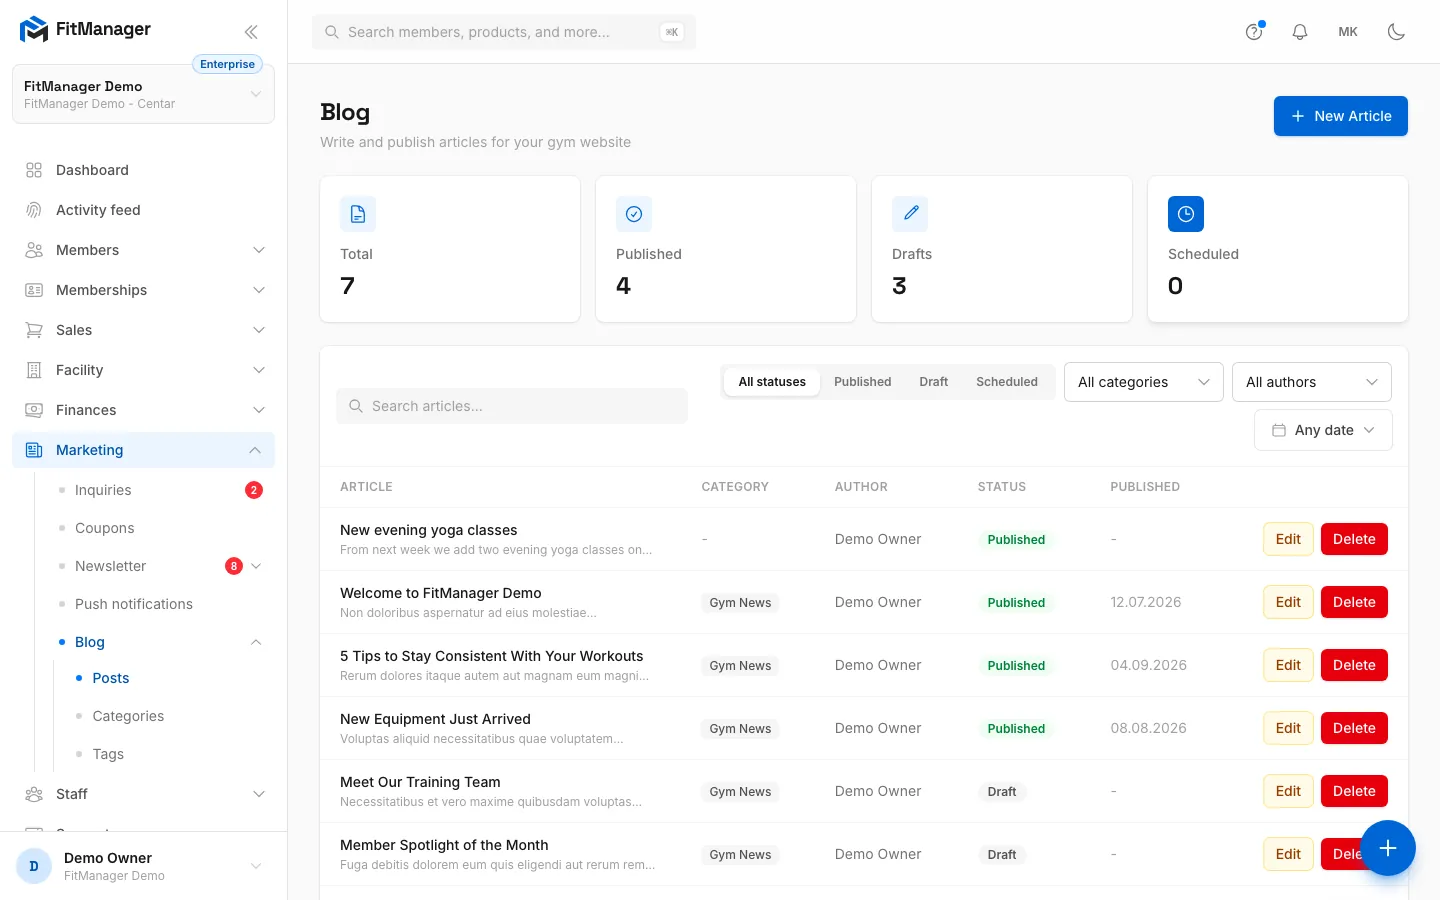
- Step 8: The post is live on your website's Blog page and in the member portal under News.
- Open Marketing, Blog, Posts and click New Article.
- Type the Title. The Slug, the last part of the post's address (
/blog/new-evening-yoga-classes), fills in from the title. Once you edit the slug by hand, it stops following the title. - Write an Excerpt: one or two sentences shown in post lists and previews.
- Write the Content. It is required. See Formatting the content.
- Under Publish, choose the Status: Draft keeps it private, Published puts it live as soon as you save.
- Pick a Category, or click + next to it to create one without leaving the form.
- Tick any Tags. This card appears once at least one tag exists.
- Optionally fill SEO title and Meta description to control how the post looks in search results. Without them, the title and the excerpt are used.
- Click Save article. You return to the list, where the post shows its status.
To change a post later, click Edit on its row and then Save changes. Delete removes a post permanently after you confirm.
Formatting the content
The content field understands Markdown, a simple way to format plain text:
| Type | You get |
|---|---|
## Opening hours |
A heading |
### Weekdays |
A smaller heading |
**bold** and *italic* |
bold and italic |
- item on each line |
A bullet list |
1. item on each line |
A numbered list |
[our plans](https://...) |
A link |
Leave an empty line between paragraphs. When a post has at least two headings, the post page shows an In this article box that jumps to each one. The page also shows the reading time and suggests up to three more posts under Read next, from the same category first. For safety, HTML code typed into the content is removed.
Publish later
The Status list also offers Scheduled with a Publish at date. Be aware that a post left on Scheduled is not published automatically when that time comes: it stays hidden until you change it to Published.
To have a post appear on its own at a set time:
- Choose Scheduled so the Publish at field appears, and pick the date and time.
- Change the Status back to Published.
- Click Save article.
The post is saved as published, but stays off the site and the portal until the Publish at time passes.
Categories and tags
- Categories group posts by topic, such as News, Training or Nutrition. A post has one category. On Marketing, Blog, Categories, click New Category and give it a name, a slug and an optional Description. Deleting a category keeps its posts; they just lose the category.
- Tags are free labels; a post can have many. Manage them on Marketing, Blog, Tags with New Tag. Deleting a tag removes it from every post.
On the post page, posts in the same category are suggested first under Read next.
Where posts appear
| Place | What shows |
|---|---|
| Website Blog page | Every published post, newest first |
| Home page Blog section | Your latest posts, when the section is switched on (see Sections and themes) |
| Member portal News | The same posts, for signed-in members |
| Sitemap | Each published post, so search engines find it |
| Website API | GET /posts, for gyms with their own website |
Posts are written once for both languages: whatever you type is shown to English and Macedonian readers alike.
Requires: Push notifications
Want members to notice a new post? Send a push notification with a link to it. See Push notifications.
Common questions
My post is not on the website
- Check the Status column says Published. Draft and Scheduled posts are not shown.
- If you set a Publish at date, the post waits until then.
- Check that the blog section is switched on, and that your website is not in maintenance mode.
Saving fails
Title and Content are required. The toast tells you which one is missing.
Can I add a cover image?
Not today. Posts are text with formatting and links.
Was this page helpful?
Related articles
Still stuck?
Write to us and we will get back to you within one working day.