Set up FitManager Control
Install the FitManager Control Windows app that drives your door readers and relays, the fiscal printer, the card terminal and the kiosk.
FitManager Control is a free Windows program that runs on a PC at your reception. It is the only part of FitManager that talks to hardware: it opens your doors, prints fiscal receipts, sends card payments to the desk terminal and serves the self-service kiosk. FitManager itself never reaches into your building. Control asks FitManager for work about once a second, so nothing at the gym needs to be reachable from the internet.
What Control does
Control has three tabs. Each one is switched on for your installation by the FitManager team, and each one only works when your plan includes the matching feature.
| Tab in Control | What it drives | Plan feature |
|---|---|---|
| Entrance Control | Card readers and door relays. Opens a door for a member's card or QR scan, and when staff click Open door in the dashboard. | Access control |
| POS System | Fiscal printers (Synergy, David) and the desk card terminal used by the POS. | Fiscal printing, POS card terminal |
| Kiosk | The card terminal and printer of the self-service kiosk. | Self-service kiosk |
The same API key connects all three. You do not need the developer API on your plan for Control to work: each device is licensed by its own feature.
What you need
- A Windows 10 or 11 PC that is always on and connected to the internet. A small mini PC at reception is enough. One PC per site.
- A card reader (optional): a Wiegand RFID reader connected through a Wiegand-to-USB converter. Power the reader from its own supply, not from the USB port.
- A door relay: a USB relay board of the LCTech type, wired to the electric strike or maglock. One relay per door.
- The CH340 driver if your relay board or reader converter uses a CH340 USB-serial chip. It is linked on the download page.
- An installation token from the FitManager team. Control shows an activation screen and runs nothing until it is activated. Ask support for the token when you are ready to install.
See Hardware for more detail on choosing the parts.
Before you start
- You need the Settings permission in FitManager to create an API key.
- Create your doors in FitManager first, under Access points. Each one has a QR Token that Control uses as the door's code. See Access points.
Step 1: Create the API key in FitManager
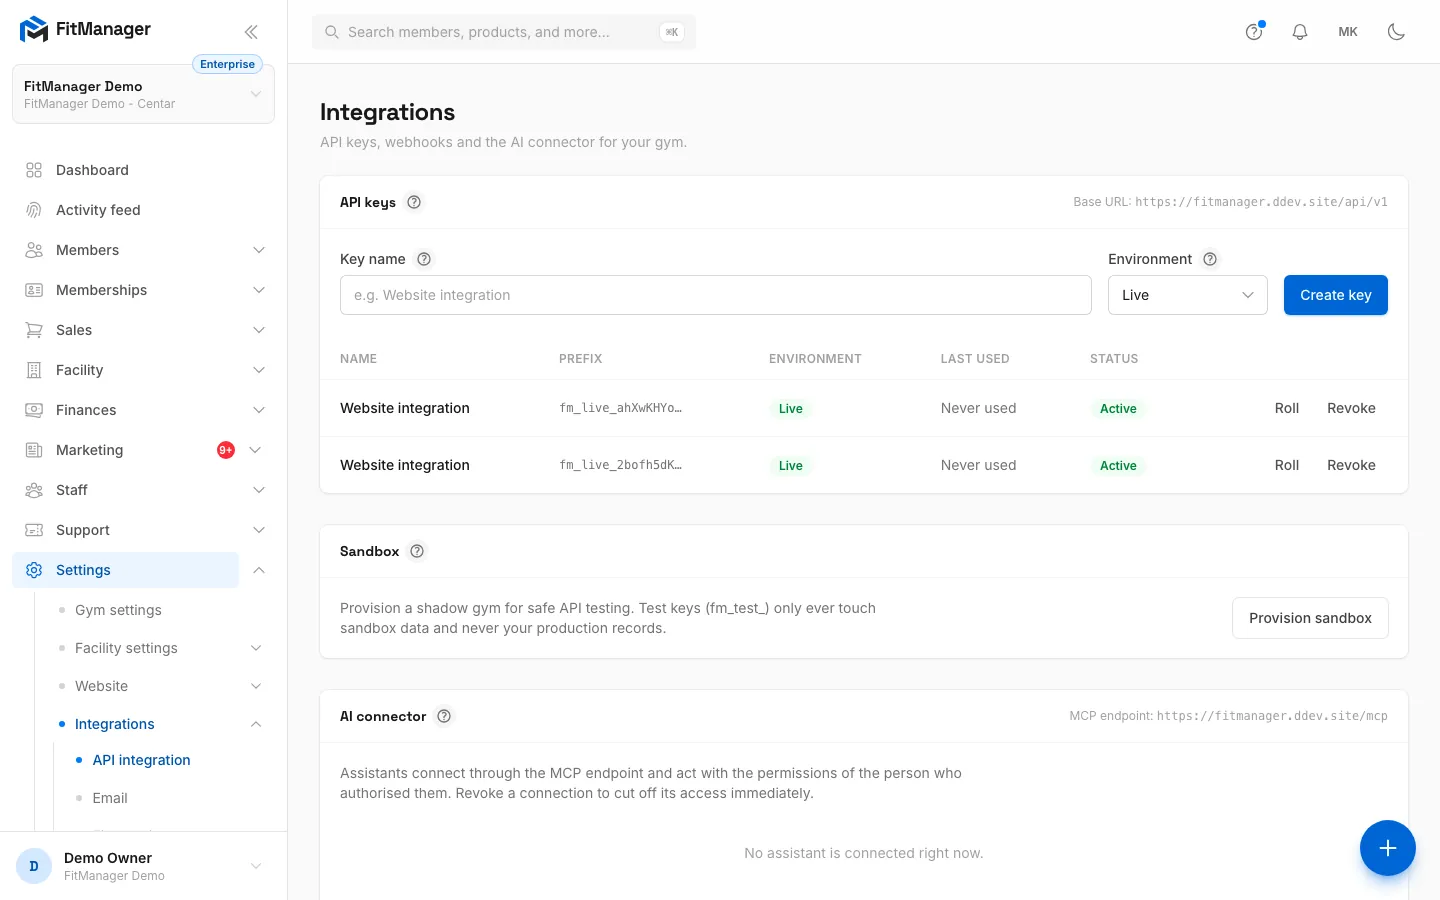
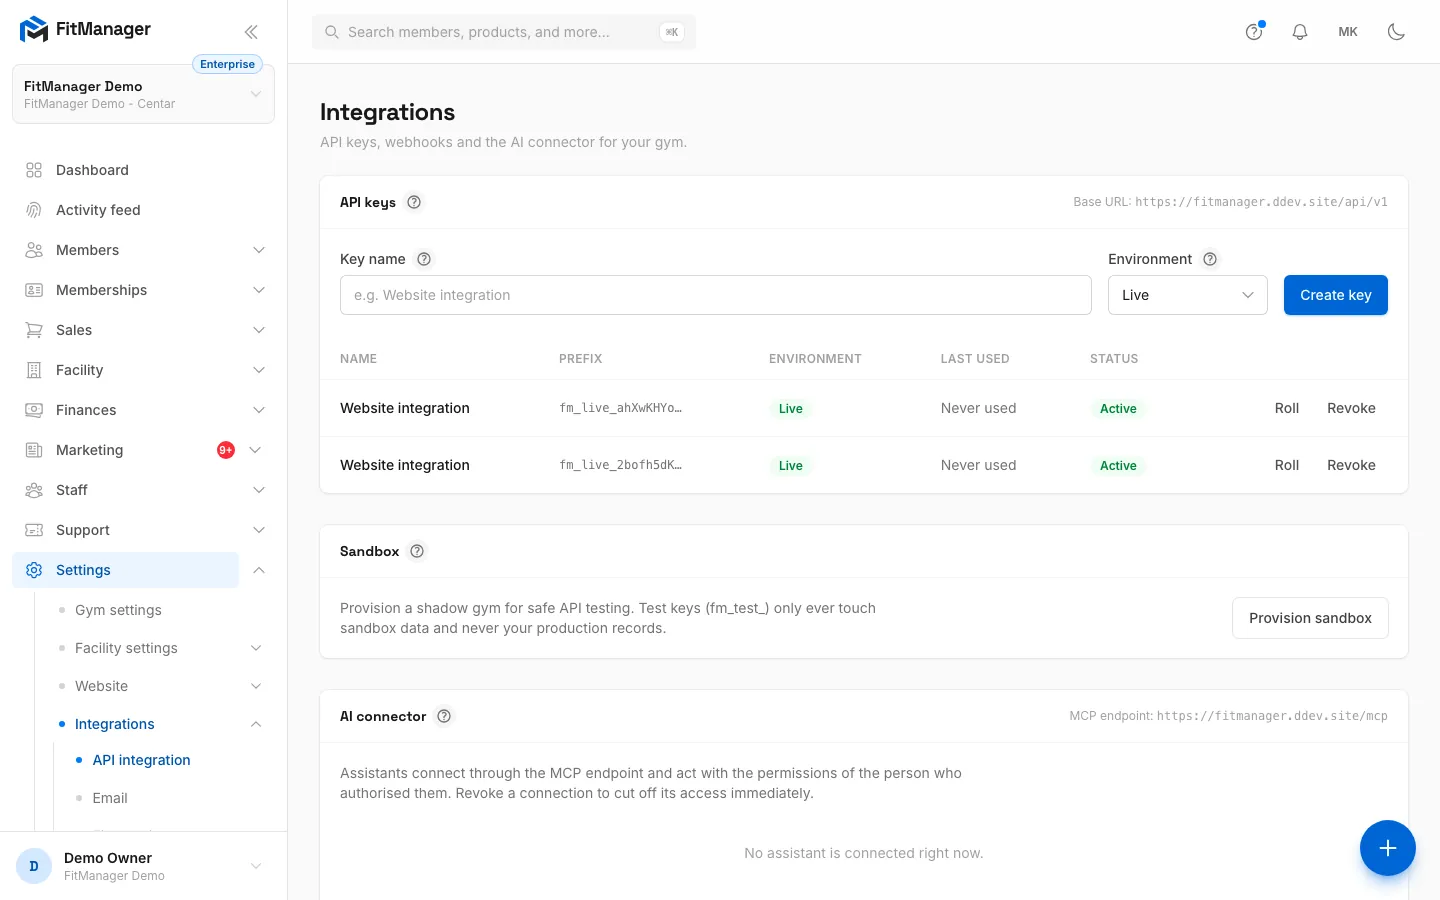
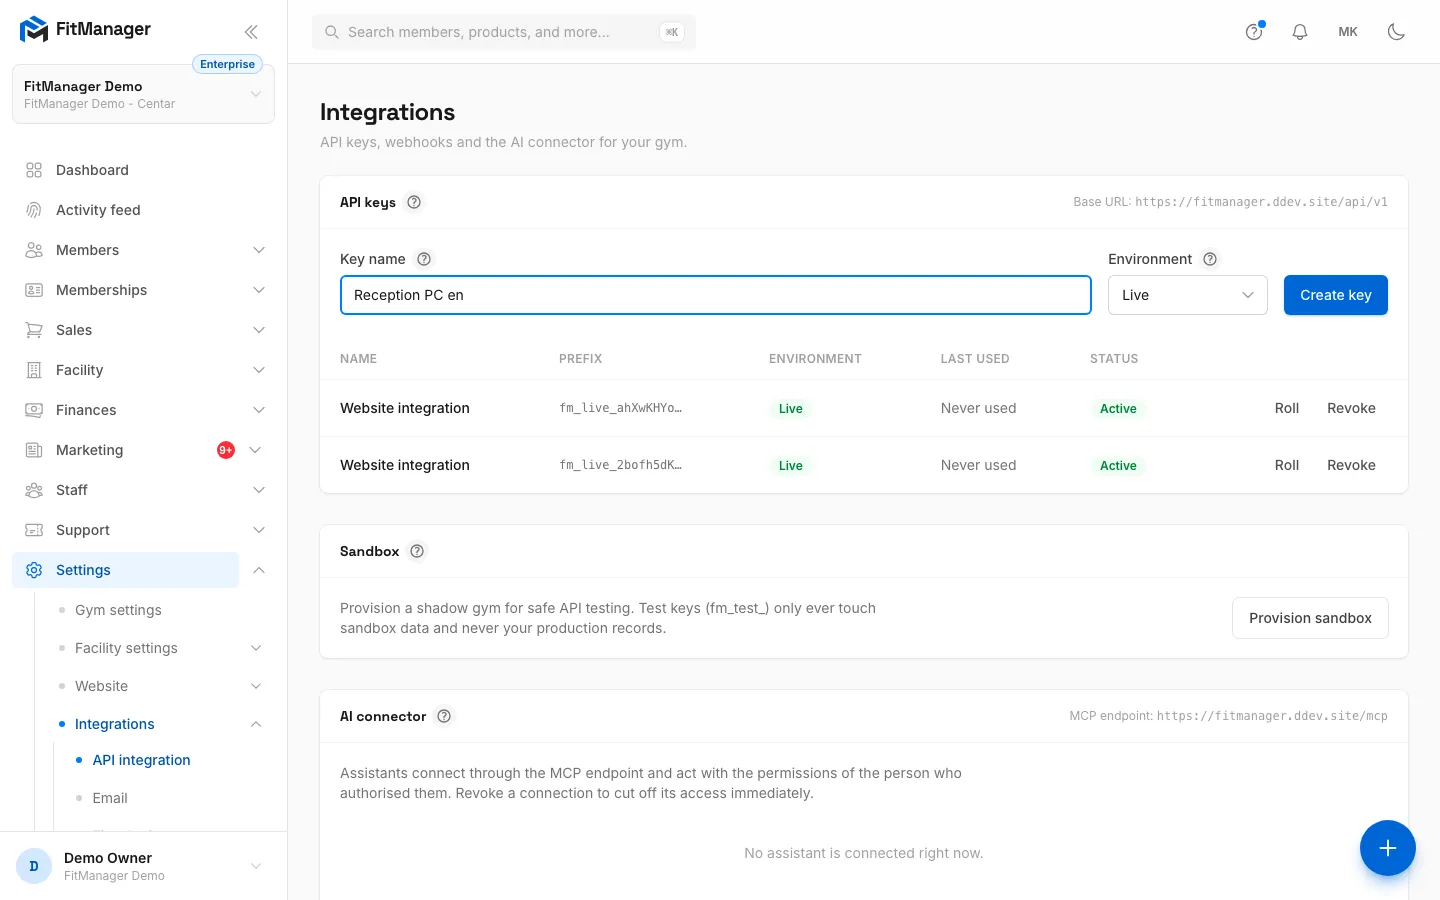
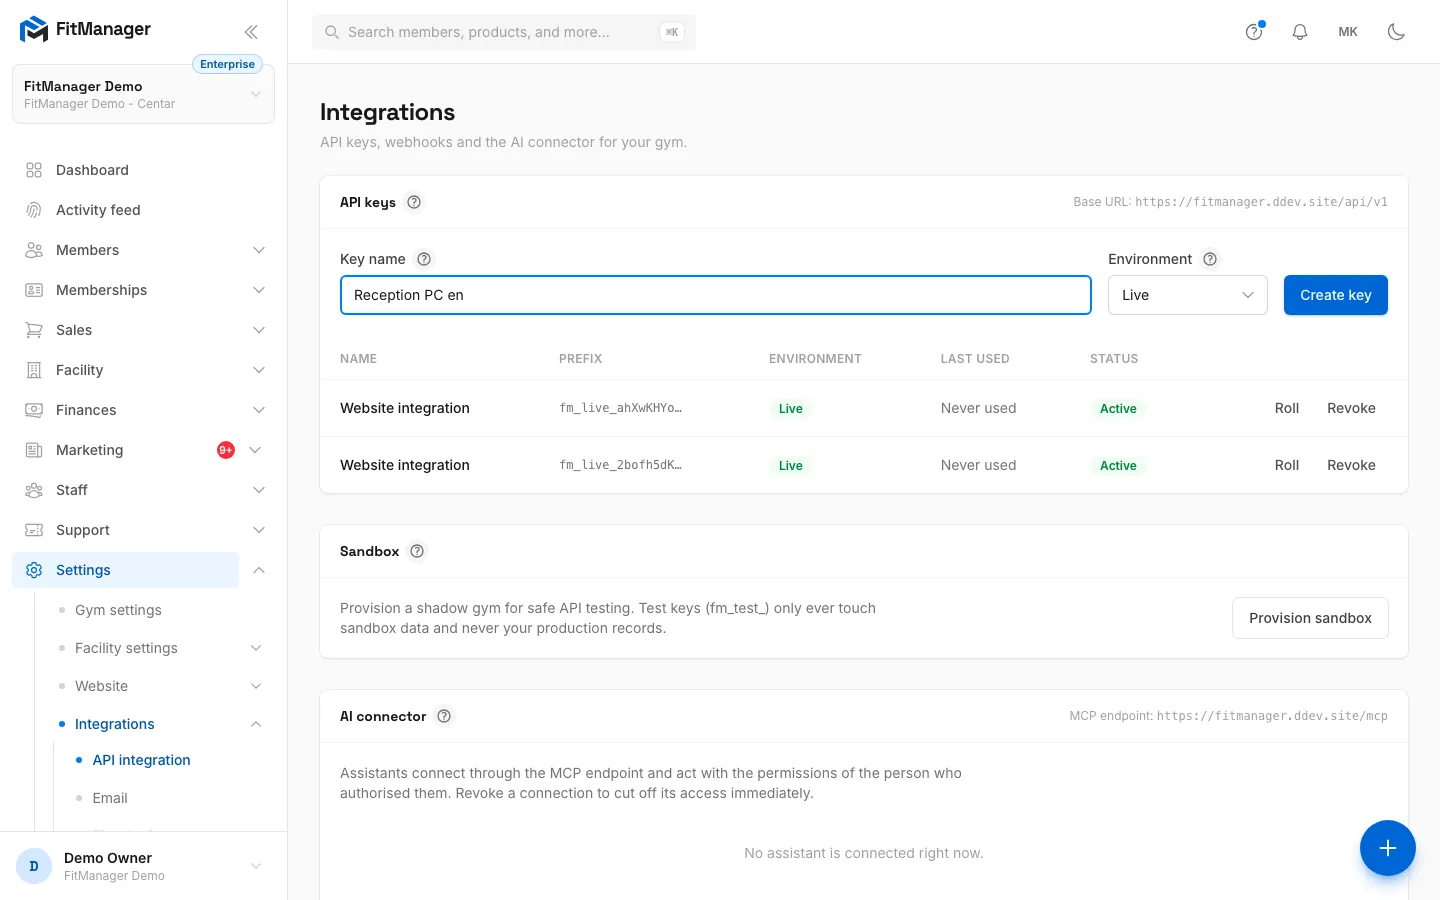
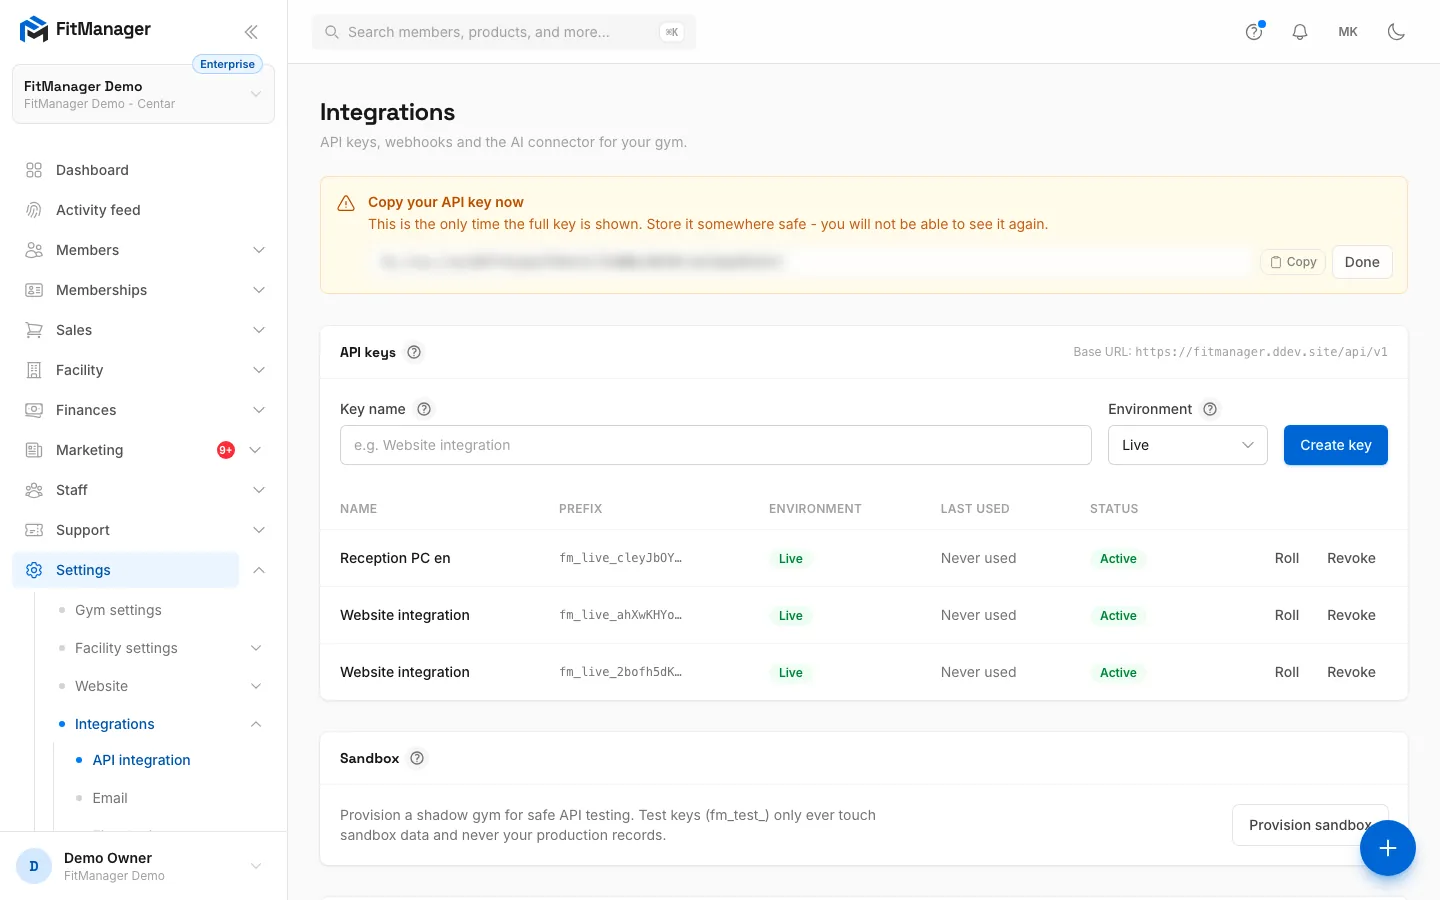
- Step 1: This is the API address FitManager Control needs. Copy it into the app later.
- Step 2: Name the key after the PC it goes on, for example Reception PC.
- Step 3: Leave the environment on Live, so the doors work with your real members.
- Step 4: Click Create key.
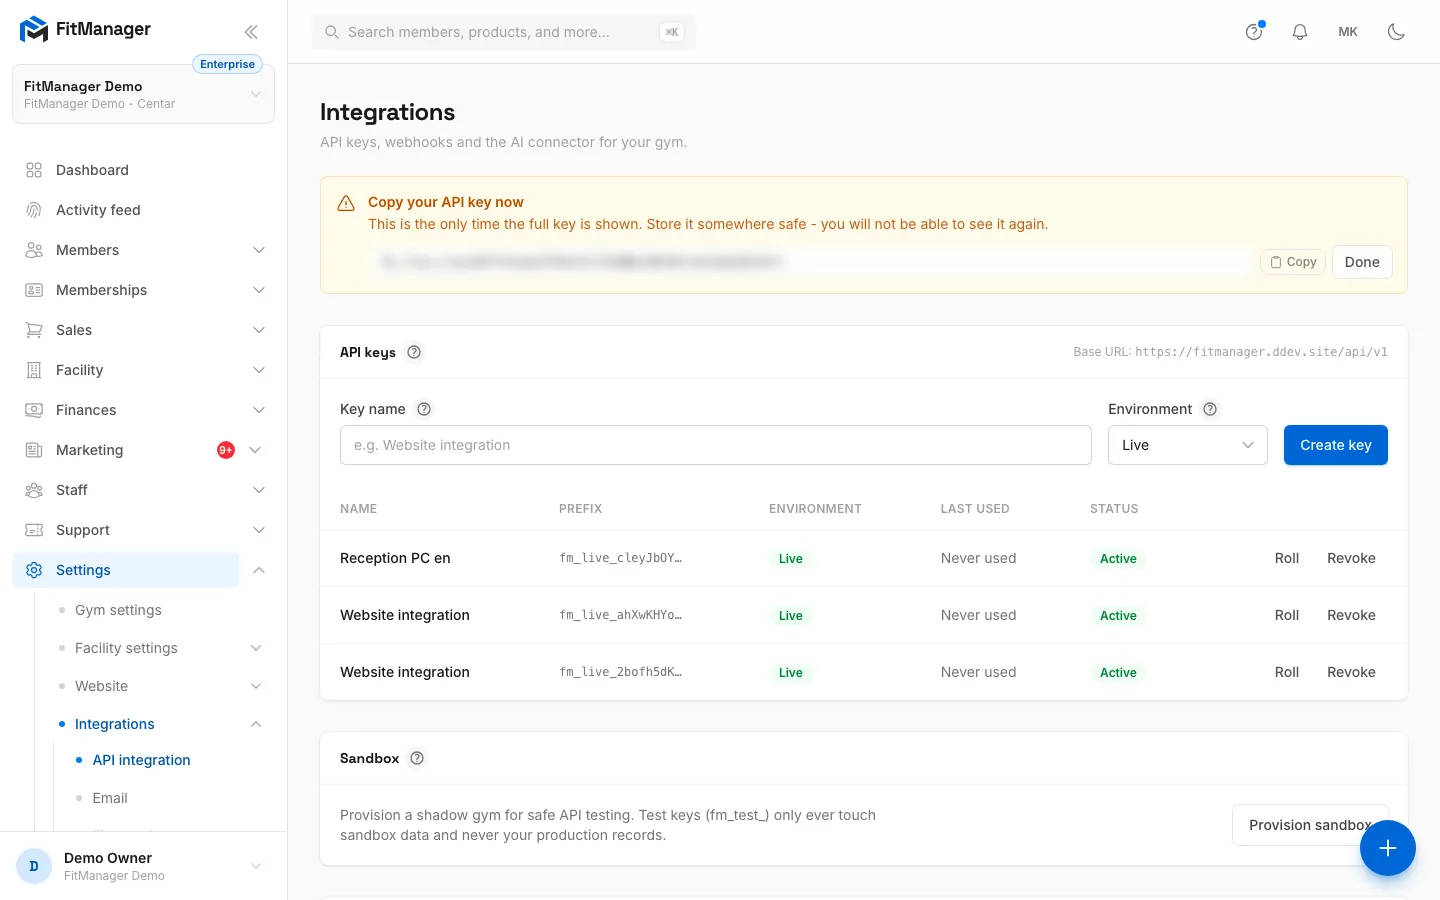
- Step 5: The full key is shown only this once. It goes into Control as the bearer token.
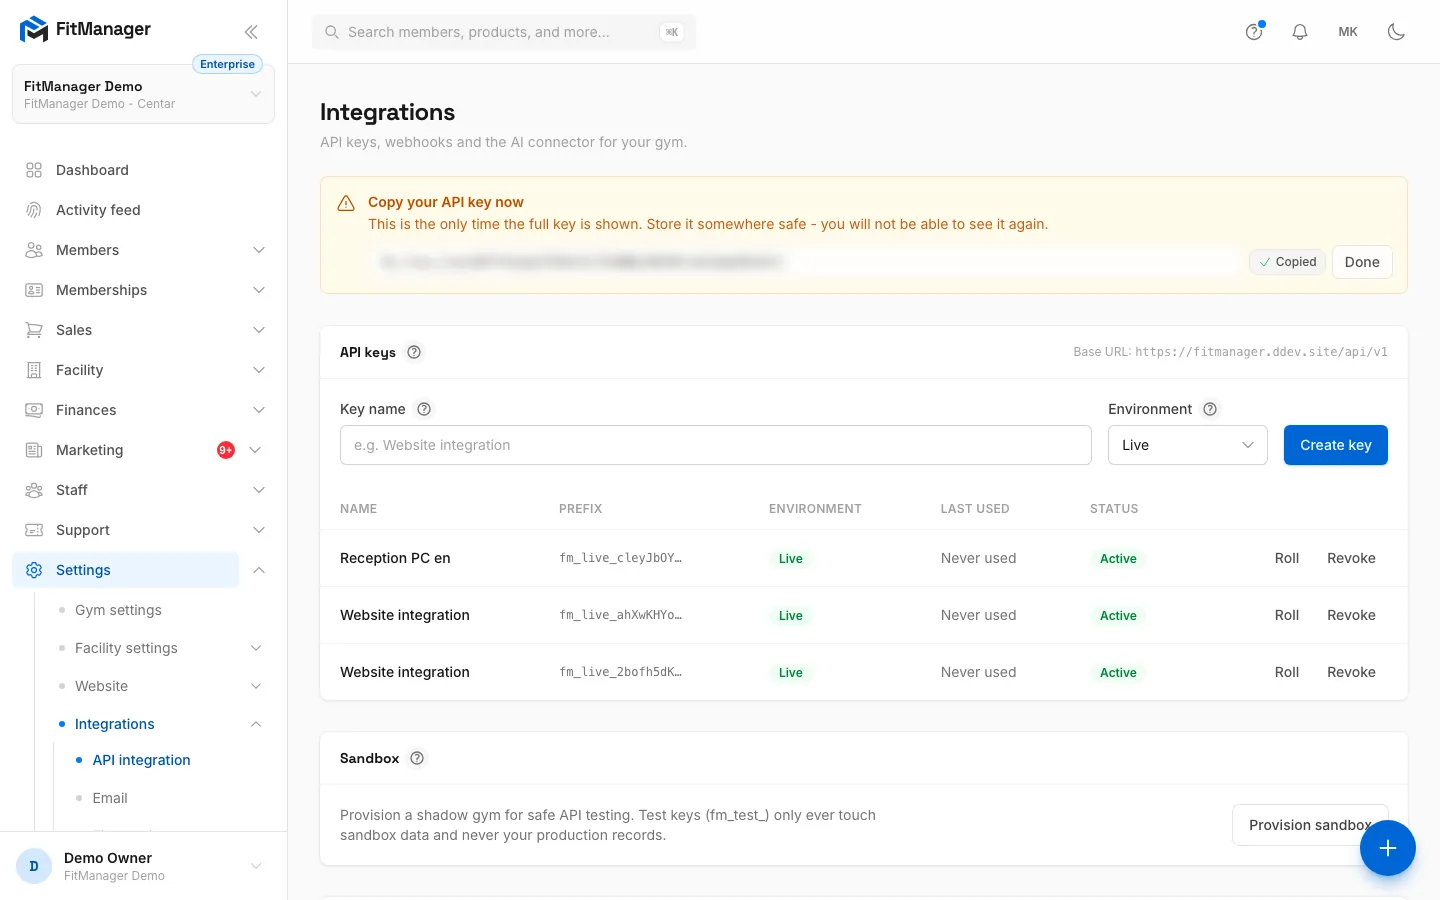
- Step 6: Click Copy and paste the key straight into Control, or keep it somewhere safe.
- Step 7: Click Done when the key is saved.
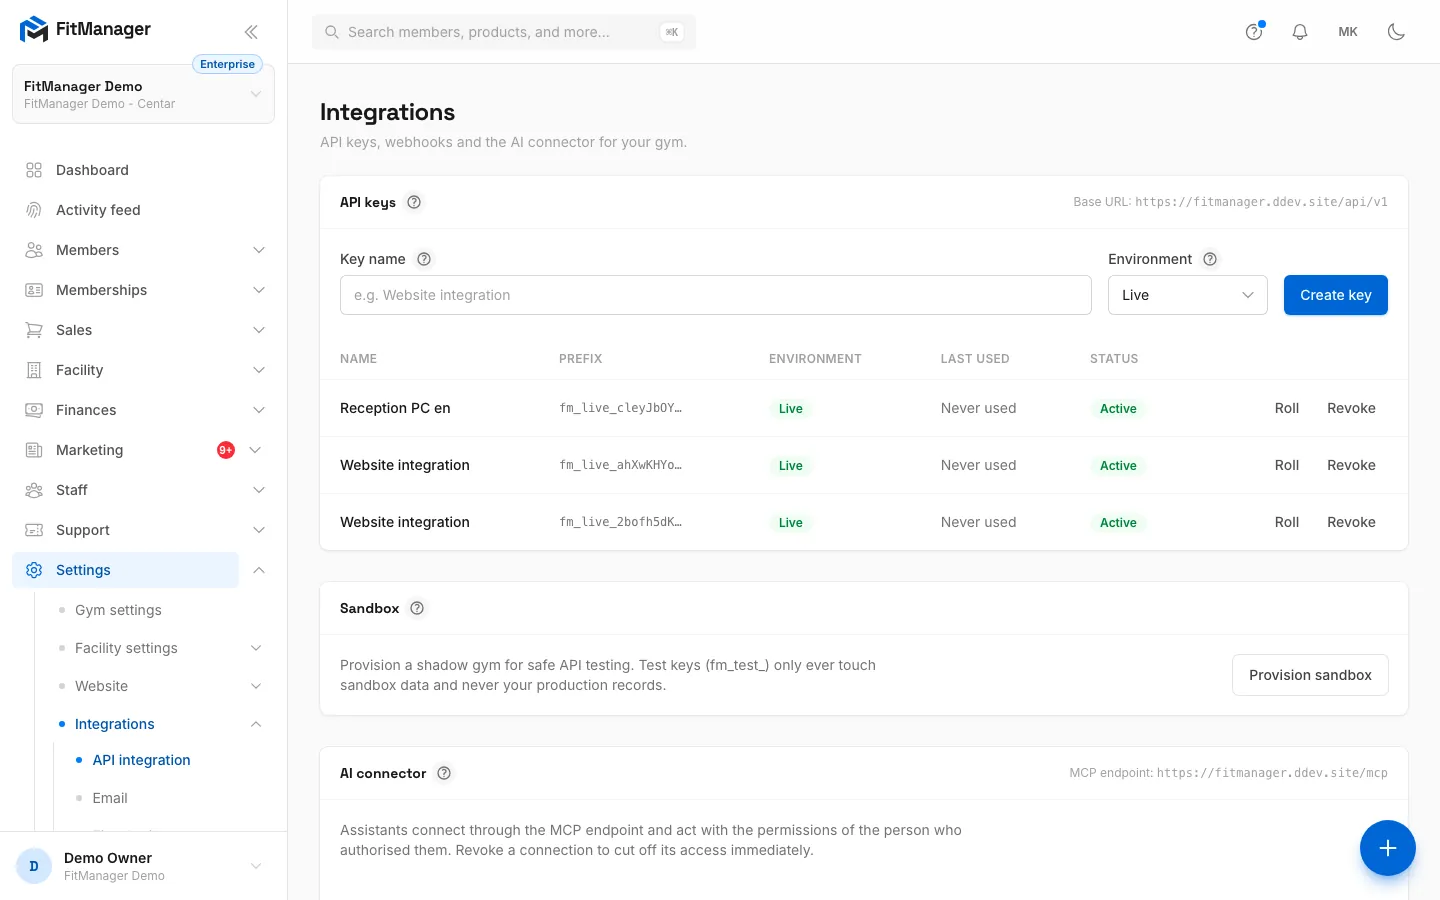
- Step 8: The key is listed with its prefix and when it was last used, so you can tell when Control is connected.
- In the dashboard, go to Settings, Integrations, API integration.
- Note the Base URL shown at the top right of the API keys card, for example
https://yourgym.fitmanager.com/api/v1. This is the API address Control needs. - In Key name, type a name that says where the key lives, such as
Reception PC. - Leave Environment on Live.
- Click Create key.
- The full key appears in a yellow box. Click Copy and keep it somewhere safe until you paste it into Control. This is the only time the full key is shown.
- Click Done.
The key now shows in the list with Last used. Once Control is connected, that column changes from Never used to a recent time, which is a quick way to confirm the connection.
If you do not see API integration under Settings, Integrations, contact FitManager support and they will set up the key with you.
Treat the key like a password. Anyone who has it can talk to your gym's API. If it leaks, click Revoke next to it and create a new one. Revoking stops every device that uses it immediately, so update Control right away.
Step 2: Download and install Control
- On the reception PC, open
fitmanager.com/controland click Download for Windows. - If your relay board or reader converter needs it, download Win Driver (CH340 USB-serial) from the same page. Unzip it, then in Windows Device Manager right-click the device, choose Update driver, then Browse my computer and point it at the unzipped folder.
- Extract the ZIP into a folder such as
C:\FitManager. It containsFitManagerControl.exeand thescriptsfolder. - Run
FitManagerControl.exeonce. It creates itsconfigandlogsfolders next to itself. - On the activation screen, paste the installation token you got from the FitManager team and click Activate.
Step 3: Connect Control to your gym
- In Control, click Settings.
- Paste your API key into Gym API bearer token.
- In Remote open URL, enter your Base URL followed by
/access-points/open-requests, for examplehttps://yourgym.fitmanager.com/api/v1/access-points/open-requests. Control polls it to pick up QR scans and Open door clicks from the dashboard. - Card check URL is used when a card is read at a reader. Ask FitManager support for the address to use for your gym when you connect card readers.
- Under If server unreachable, choose what a door does when the internet is down: Keep the door closed (deny), Open the door for any card (allow) or Open only for valid members in the offline copy. The last option needs an Offline member list URL, which support also provides. Scans made offline are queued and sent to FitManager when the connection is back, so the access log stays complete.
- Leave Relay open bytes and Relay close bytes on their defaults for an LCTech relay.
- Save. The API pill at the top shows API online when Control reaches FitManager.
Step 4: Add your doors
- In the Entrance Control tab, click + Access point.
- Enter a Name, for example
Front door. - In Code, paste the door's QR Token from its page in FitManager. It must match exactly.
- Pick the Card reader (input) and the Relay (output) from the port lists. Either can be empty: a door can only read cards, or only drive a relay.
- Set Relay open time, the number of seconds the door stays unlocked.
- If your readers send the card as facility code plus number, tick Card format so Control converts it to the 10 digit card number FitManager stores.
- Save, then click Pulse on the door's card to test the relay.
Within a few seconds the door shows Online on its page in FitManager.
Step 5: Make it run around the clock
- Close Control.
- Open the
scriptsfolder, right-clickinstall-windows-service.ps1and choose Run with PowerShell as administrator. If Windows blocks it, open PowerShell as administrator in the Control folder and runpowershell -ExecutionPolicy Bypass -File scripts\install-windows-service.ps1. - The script starts Control when Windows logs on, restarts it within a minute if it stops, and keeps the PC and its USB ports from sleeping.
- Turn on automatic Windows logon (run
netplwiz), so the PC comes back with Control running after a power cut.
Control updates itself. It checks for new versions on start and every hour, so you only need the download page for the first install.
Fiscal printer, card terminal and kiosk
The POS System and Kiosk tabs use the same API key and API address. Each FitManager settings page shows the id to paste into Control:
- Fiscal printer: Settings, Integrations, Fiscal printer, field Device id. See Fiscal printer.
- Card terminal: Settings, Facility settings, Point of sale, field Terminal id. See Card terminal.
- Kiosk: Settings, Integrations, Kiosk, field Kiosk id. See Kiosk.
Troubleshooting
Control says it is not activated
The installation token is missing or was deactivated. Contact FitManager support with the PC's name.
The API pill says API offline
Check the internet connection and the Remote open URL. A wrong or revoked key shows as an error in Logs instead (HTTP 401). If your gym's subscription is unpaid past the grace period, devices stop working until the invoice is paid (HTTP 402).
A tab shows Nothing enabled
That tab is not switched on for your installation, or your plan lacks the feature. Contact support.
The door does not open
See Troubleshooting doors for offline doors, unknown cards, denied members and relays that do not click.
Was this page helpful?
Related articles
Still stuck?
Write to us and we will get back to you within one working day.